
Jewelry Design Process From Sketch to Final Creation - Erawan Atelier


Every jewelry collection begins as an idea — a feeling, an image, a reference, a memory. But between that initial spark and a finished collection of pieces ready to sell, there is a structured creative and technical process that most designers only learn through trial and error. Understanding that process from the outset makes the difference between a collection that feels cohesive, purposeful, and commercially strong and one that looks like a collection of unrelated experiments.
This guide walks you through the full jewelry design process — from finding and developing your creative concept, to translating it into wearable, producible pieces, to preparing your designs for manufacture. Whether you are designing your first collection or looking to bring more discipline and intention to an existing practice, this is the framework that professional jewelry designers and brands use to create work that is both creatively compelling and commercially viable.
Why a Structured Design Process Matters
Many jewelry designers resist the idea of a structured design process — worried that structure will constrain their creativity. The opposite is almost always true. A clear process does not limit creative expression; it channels it. It prevents the paralysis of the blank page, the drift that leads to incoherent collections, and the costly mistakes that happen when beautiful designs turn out to be unproducible or commercially unviable.
A structured design process also makes you a better manufacturing partner. Manufacturers work most efficiently — and produce the best results — when the designs they receive are well-developed, clearly specified, and technically feasible. A designer who understands the relationship between creative intent and production reality produces designs that translate faithfully from sketch to finished piece. Our guide on how to prepare a jewelry design brief for manufacturers explains what manufacturers need from designers at the point of handover — and working backward from that requirement is one of the best ways to understand what a complete design process looks like.
Step 1: Define Your Creative Concept and Theme
Every strong jewelry collection has a concept — a central idea that gives it coherence and meaning. This concept is not just a title or a tagline; it is the creative filter through which every design decision in the collection is made. Does this piece belong? Does this material choice serve the concept? Does this design element reinforce or contradict the theme?
Finding your concept
Concepts can come from anywhere — a place, a period in history, a natural phenomenon, a material, an emotion, a cultural reference, an abstract idea. The best concepts are specific enough to be genuinely guiding — they actually help you make decisions — and open enough to generate a range of different designs rather than just one or two.
Start by gathering references that resonate with you — images, textures, objects, colors, photographs, artworks, architectural details, botanical specimens. Do not filter at this stage. The goal is to accumulate raw material, not to edit. Notice which references keep appearing, which combinations feel right, which visual qualities seem to connect. These recurring elements are the raw material of your concept.
Developing a mood board
Once you have your references, organize them into a mood board — a visual document that captures the atmosphere, color palette, texture language, and emotional register of your concept. A mood board is not a design specification; it is a creative brief to yourself. It answers the question: what does this collection feel like?
A well-constructed mood board shows color relationships, surface textures, form qualities — whether the collection will favor organic, flowing shapes or geometric, architectural ones — and the overall tonal register, from light and airy to dark and dramatic. It should be specific enough that someone who had not been part of the concept development process could look at it and understand the direction of the collection. This same mood board will later form a significant part of your design brief to your manufacturer.
Writing a concept statement
Alongside your mood board, write a short concept statement — two to three sentences that articulate the idea behind the collection in words. This is not marketing copy; it is a creative anchor. It helps you stay true to your concept when design decisions become difficult, and it communicates your vision to collaborators — photographers, stylists, retail buyers, and manufacturing partners — in a way that a mood board alone cannot.
Step 2: Research Your Materials and Production Parameters
Before you begin sketching, you need to understand the materials and production parameters that will shape what is designable. A design that is beautiful in theory but impossible to produce in your target material at your target price point is not a design — it is a sketch. Professional jewelry designers research production parameters before they commit to a design direction, not after.
Choose your primary metal
Your choice of primary metal — yellow gold, white gold, rose gold, sterling silver, platinum, or a combination — shapes the entire aesthetic and cost profile of your collection. Each metal has distinct visual qualities, distinct working properties, and distinct costs. Sterling silver allows for lower price points and more experimental forms; platinum is the most prestigious and expensive, with specific technical requirements; gold in its various alloys sits in between. Our article on the best materials for fine jewelry compares gold, platinum, and silver across all relevant dimensions and is essential reading before finalizing your material direction.
Understand your gemstone options
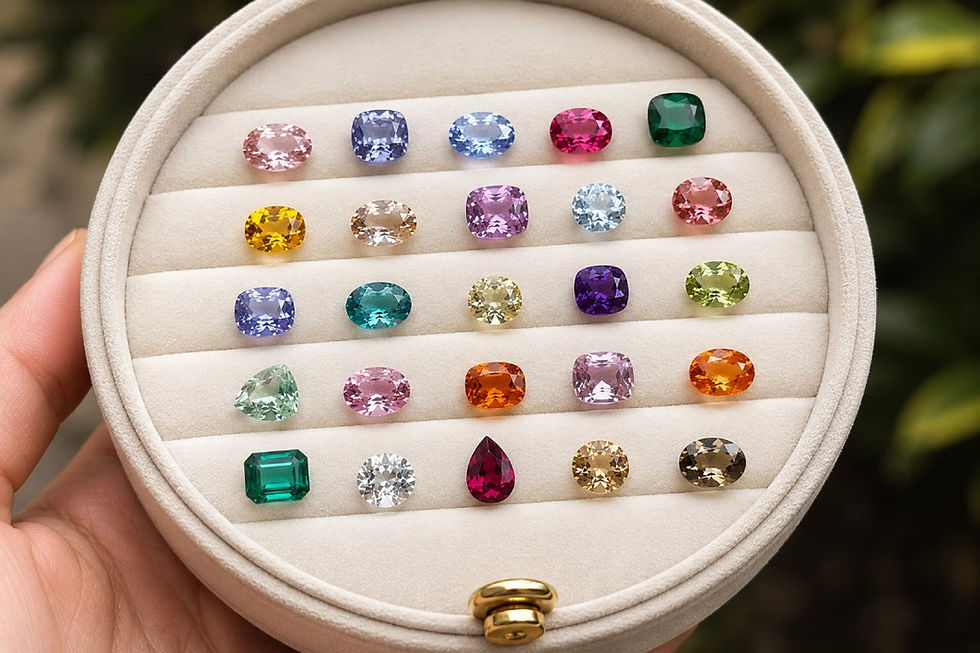
If your collection will incorporate gemstones — and for most fine jewelry collections, it will — research your stone options in the context of your concept, your price positioning, and your production parameters. Different stones present different design constraints: some require specific setting techniques, some are too soft or fragile for certain applications, and some have availability and cost implications that affect how you can use them across a collection.
Our professional guide on choosing the right gemstones for your collection covers the full range of options across diamonds, colored gemstones, and semi-precious stones — including quality grading, setting compatibility, and sourcing considerations.
Define your production method
Different production methods — casting, hand fabrication, die-striking, electroforming — have different design implications. Casting, which is the most common production method for fine jewelry, allows complex three-dimensional forms but has specific requirements around wall thickness, undercuts, and detail resolution. Hand fabrication allows forms that casting cannot achieve but is more labor-intensive and therefore more expensive. Understanding your production method before you design ensures that your designs are feasible to produce at your target cost and quality level. Our complete guide to casting in jewelry production explains the casting process and its design implications in detail.
Step 3: Sketch and Develop Your Designs
With your concept defined and your production parameters understood, you are ready to begin sketching. This is the stage that most designers find most natural — but even here, discipline and structure produce better outcomes than pure intuition.
Sketch broadly before you edit
In the early sketching phase, generate as many ideas as possible without self-editing. Fill pages with variations — different proportions, different silhouettes, different ways of interpreting the concept in wearable form. The goal at this stage is quantity and diversity, not quality. The editing comes later.
Sketch across the full range of product categories in your collection — rings, earrings, necklaces, bracelets — and look for design elements that can travel across categories, creating visual coherence without repetition. A particular form, a surface texture, a structural element, or a stone orientation that appears in a ring can be reinterpreted in a pendant and again in an earring — creating a family of designs that feel related without being identical.
Edit ruthlessly
Once you have a body of sketches, edit with commercial and creative criteria in mind. Does this design serve the concept? Is it wearable — does it make sense on the body, will it sit correctly, will it be comfortable? Is it producible in your target material and production method at your target price point? Is it distinctive enough to justify its place in the collection, or is it too similar to another design in the range?
Keep the designs that pass all of these tests. Set aside — do not discard — the ones that do not. Design ideas that are not right for this collection may be exactly right for the next one.
Develop your selected designs in detail
Once you have your edited selection, develop each design in detail. This means producing drawings that show the piece from multiple angles — front, side, top, and detail views — with dimensions, proportions, and material specifications noted. At this stage, you are producing the reference drawings from which your CAD files will be built. The more detail and accuracy in your reference drawings, the more accurately your CAD model will reflect your design intent.
Step 4: Build Your CAD Models
Computer-aided design — CAD — has transformed jewelry design and manufacturing. A CAD model is a precise three-dimensional digital representation of a piece of jewelry that serves as the definitive reference for every subsequent stage of production. It captures exact dimensions, proportions, setting positions, surface details, and wall thicknesses in a form that can be used directly to produce wax models for casting or to 3D print prototypes for review.
Working with a CAD designer
Most jewelry designers — unless they have trained specifically in jewelry CAD software — work with a specialist CAD designer to translate their reference drawings into three-dimensional models. The quality of this translation depends on the quality of your reference drawings and the skill of your CAD designer's interpretation. Provide your CAD designer with your most detailed reference drawings, clear written notes on proportions and details you consider non-negotiable, and your mood board as a tonal reference.
Review the CAD model carefully before approving it for prototyping. A CAD model can look correct in a rendered image but contain dimensional inaccuracies that only become apparent in a physical prototype. Ask your CAD designer to provide dimensional annotations alongside the rendered images so you can verify key measurements before committing to a physical sample.
Our article on CAD jewelry design explains the full scope of what CAD adds to the jewelry design process and what to look for in a quality CAD output.
Using CAD to explore design variations
One of the most powerful capabilities of CAD is the ability to explore design variations — different stone sizes, different setting styles, different proportions — without the cost of producing multiple physical prototypes. Before finalizing your CAD for prototyping, use this capability to test variations that address any uncertainty in your design. It is far cheaper to explore a proportion change digitally than to discover it is wrong in a physical sample.
Step 5: Prototype and Refine
The prototype — a physical sample of each piece, produced from your approved CAD model — is the critical bridge between design and production. It is the moment when your concept becomes tangible and when the gap between design intent and physical reality becomes visible.
What to look for in a prototype review
When you receive your prototypes, review them systematically against your design intent. Check proportions and dimensions — does the piece look and feel the way you intended? Check weight — is the piece too heavy or too light for its intended application? Check setting quality and stone positioning. Check surface finish and detail resolution. Check wearability — put the piece on, move around, and assess whether it sits correctly and comfortably.
Be specific and detailed in your feedback. Vague feedback — "it does not feel quite right" — is difficult for a manufacturer to act on. Specific feedback — "the shank needs to be 0.5mm thinner and the stone needs to be set 1mm lower" — produces accurate corrections. Our overview of 3D prototyping for jewelry explains the full prototype review process and how to communicate feedback effectively.
Iterate until it is right
Do not compromise on the prototype stage. The prototype is your last opportunity to correct design issues before they are replicated across your full production run. A second round of prototypes, if needed, is always a better investment than discovering a design problem in finished goods. At Erawan Atelier, we build multiple prototype review rounds into our standard production workflow because we know that the quality of the prototype stage directly determines the quality of the finished collection.
Step 6: Prepare Your Final Design Documentation
Once your prototypes are approved, the design process culminates in a complete set of final design documentation — the package of drawings, CAD files, material specifications, and production notes that your manufacturer needs to produce your collection consistently and accurately at scale.
What your final documentation should include
Complete final documentation for a jewelry collection typically includes approved CAD files for each design, final reference drawings with dimensional annotations, material specifications including metal alloy, finish, and treatment details, gemstone specifications including type, cut, size, quality grade, and setting style, approved prototype photographs from multiple angles, and any specific production or quality notes relevant to individual pieces.
The completeness and accuracy of this documentation directly affects the consistency of your finished production. Gaps in documentation create ambiguity that manufacturers must resolve with judgment calls — and those calls may not always align with your design intent. Invest the time to make your documentation complete. It pays back in production accuracy and reduced rework.
Frequently Asked Questions
How many pieces should a first jewelry collection include?
A first jewelry collection should typically include between six and twelve pieces — enough to show range and coherence without the complexity and cost of a larger range. Focus on a core set of categories — a ring, earrings, a necklace, and a bracelet, for example — and develop two to three designs in each. A tight, coherent collection of eight well-executed pieces is far more commercially effective than a diffuse collection of twenty that lacks a clear point of view.
Do I need to know how to draw to design jewelry?
No — but some ability to communicate your designs visually is helpful. Many successful jewelry designers work primarily with collage, three-dimensional sketching, or annotated reference images rather than technical drawings. What matters is that you can communicate your design intent clearly enough for a CAD designer to build an accurate model from your references. If technical drawing is not your strength, invest in strong verbal and visual references — detailed annotations on photographs of similar pieces can be just as useful as a technical sketch.
How long does it take to design a jewelry collection?
The timeline for designing a jewelry collection varies considerably depending on the complexity of the range and the designer's experience. As a general guide, the concept development and sketching phase takes two to four weeks, CAD development one to three weeks per piece, prototype production three to six weeks, and prototype review and refinement one to three weeks per round. A collection of eight to twelve pieces from initial concept to approved prototypes typically takes three to five months. Planning your design timeline backward from your target launch date — and building in buffer time — is essential.
What is the difference between a design sketch and a technical drawing?
A design sketch communicates the visual and creative intent of a piece — its form, its proportions, its aesthetic qualities — but does not necessarily include the precise dimensional and technical information needed for production. A technical drawing includes exact measurements, profile views, setting positions, surface finish specifications, and any other information a manufacturer needs to produce the piece accurately. For most jewelry designers working with manufacturing partners, reference sketches supplemented by detailed annotations and CAD development cover both functions.
How do I know if my designs are producible?
The best way to assess producibility is to discuss your designs with your manufacturing partner early in the process — ideally before you have committed fully to a design direction. An experienced manufacturer can identify potential production issues — wall thicknesses that are too thin for casting, undercuts that prevent mold release, stone sizes that are incompatible with the setting style you have specified — at the sketch stage, when they are easy and inexpensive to correct. Building this conversation into your design process, rather than presenting finished designs for production approval, significantly reduces the risk of expensive late-stage redesign.
What role does CAD play in the jewelry design process?
CAD plays several critical roles in the modern jewelry design process. It translates reference drawings into precise three-dimensional models that serve as the definitive production reference. It allows design variations to be explored digitally before committing to physical prototypes. It provides the digital file from which wax models are 3D printed or milled for casting. And it creates a precise, sharable documentation of each design that can be stored, modified, and reused across future collections. For any brand working with a manufacturer, CAD is the language in which design intent is most accurately communicated.


Comments